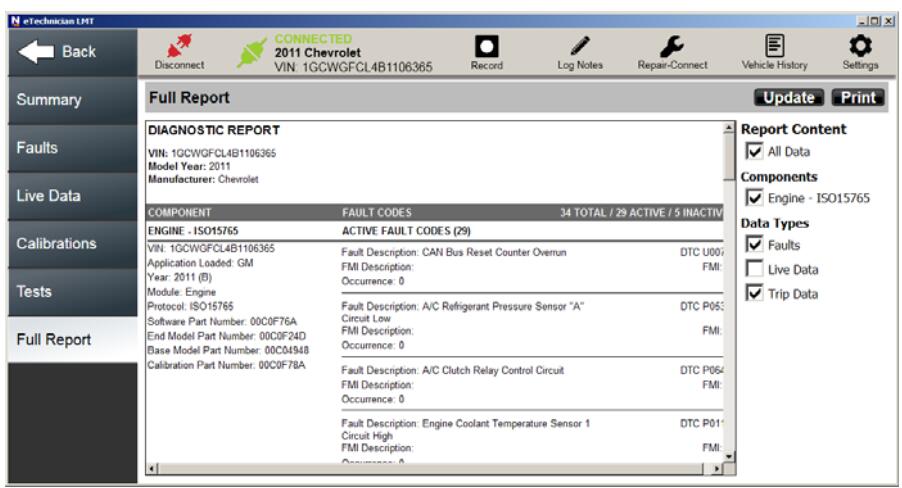
Nexiq eTechnician allow you use the Full Report tab to view and customize diagnostic reports for the vehicle to which you are connected. You can customize the report by selecting the items you want to include. Place a check mark in the box next to the item you want to select.
What You Need?
Nexiq USB Link 2 Diagnostic Tool
2023 Nexiq eTechnician 2.8/2.1 Diagnostic Software
- Report Content
All Data (use this check box to include all data for all components) - Components
Engine
Brakes
Transmission - Data Types
Faults
Live Data
Trip Data
NOTE:
i You can further customize your reports by adding a header that includes your company information and/or logo.
You use the Settings screen to add or update this information.
The date of the report is included at the bottom of the report in the footer.
To view a diagnostic report for the vehicle:
1 Click on the Full Report tab on the right side of the screen
The Full Report screen is displayed.
2 Use the scroll bar on the right side of the screen to scroll down through the information.
3 Use the check boxes to change the data included on the report (e.g., deselect
Trip Data to remove it from the report).
4 Click Update.
5 To add header including company information, click the Settings icon
The Settings screen is displayed.
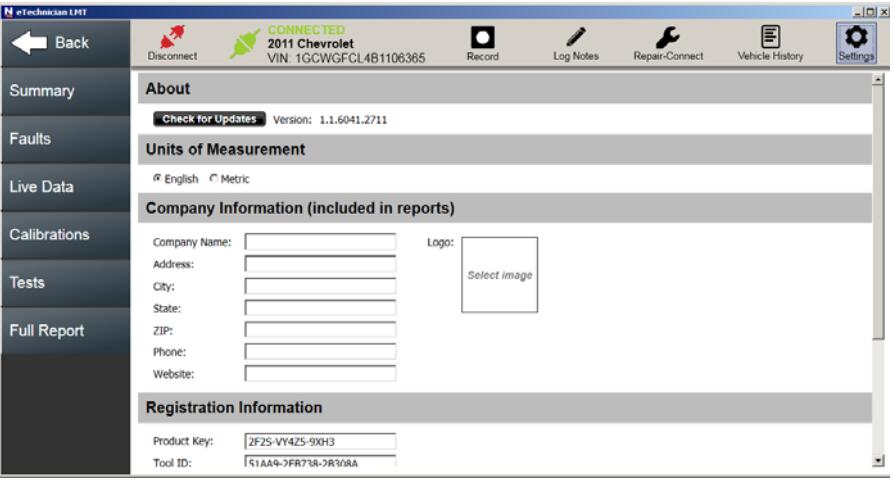
6 Use the text-entry boxes to add your company information.
You can use the Tab key to navigate to the next text-entry box
NOTE:
i You can also add a company logo, or another suitable image. Use the Logo box to select and download the desired image.
7 When you have finished adding your information, click on the Full Report tab to go back to your report.
The report is generated, including the company information you added.

8 Click Print to send your report to a printer.
NOTE:
i If you are not connected to a printer, you can save the information to a file in the location of your choice.
9 When you are finished generating reports, click on the Summary tab to go back to the Summary screen

